User Interface
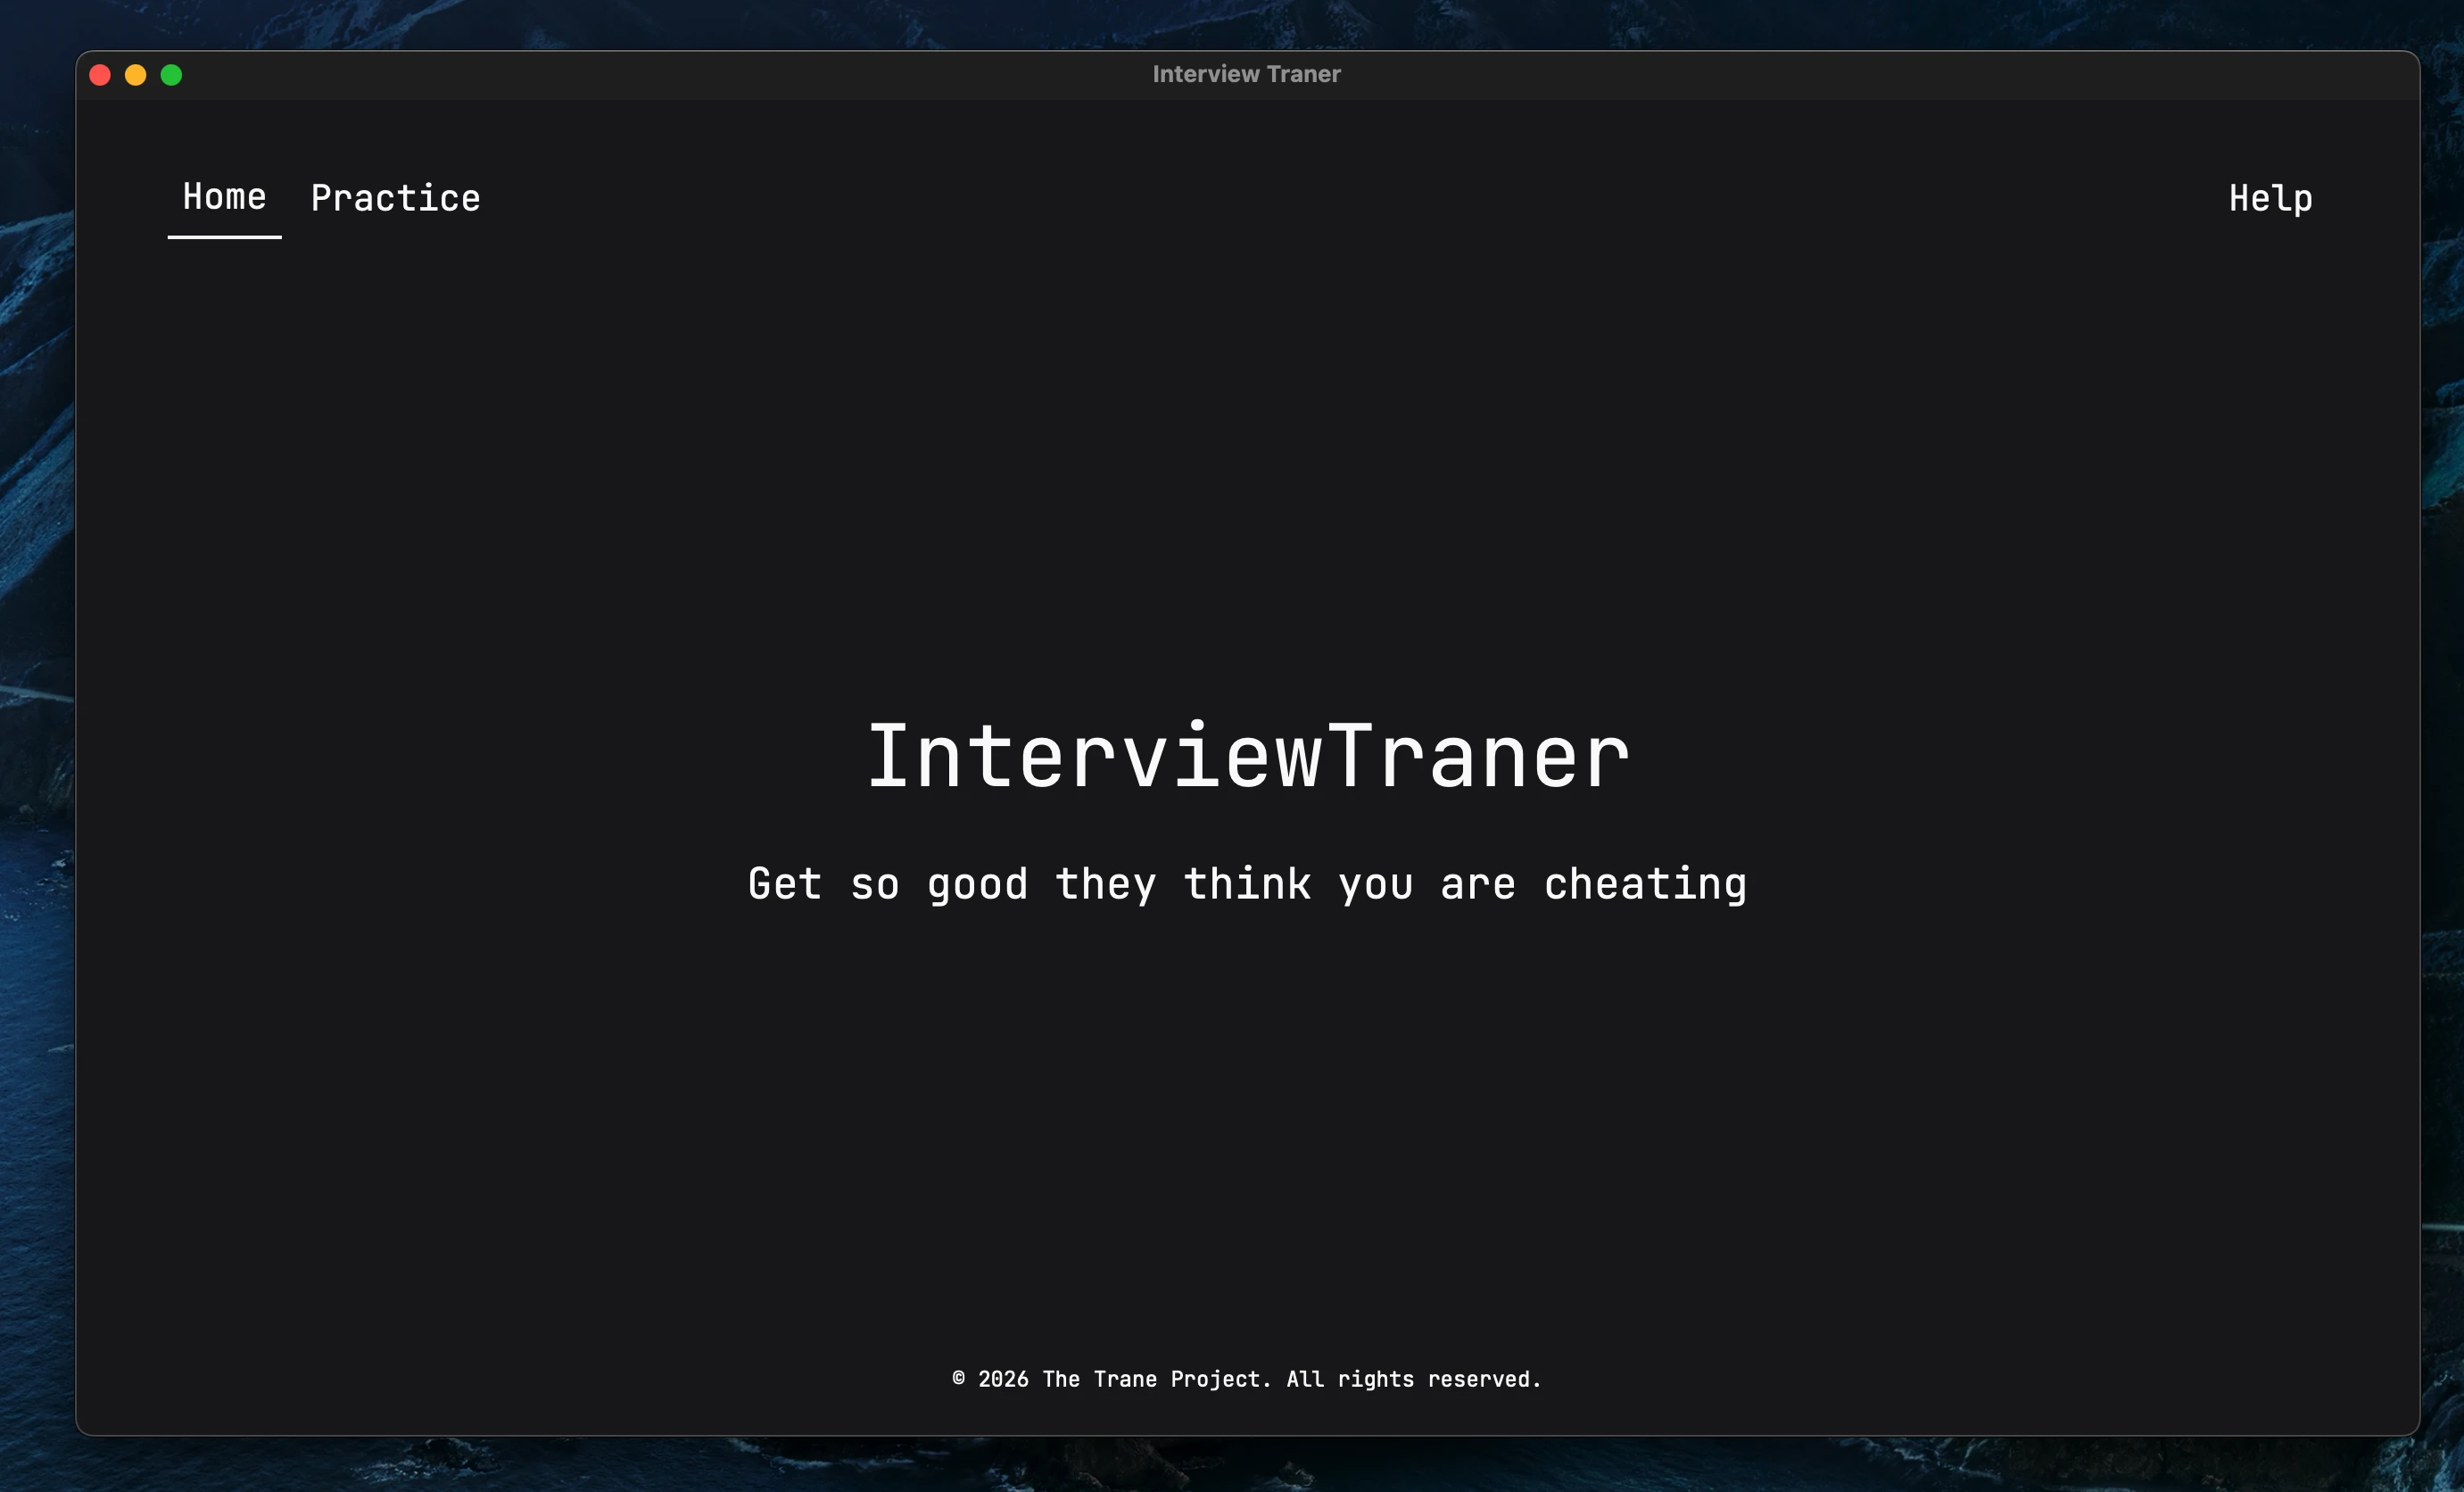
Home Tab🔗
Just an initial screen that serves as an initial point of navigation.
Practice Tab🔗
The Practice tab is where the main functionality of the software is located. When starting the software, the tab shows only one button with the label Select Folder. In order to save progress, users are required to select a folder.

If this is your first time using the software, create a new folder on your computer in the location of your choice, using the file manager of your operating system. Give the folder a descriptive name such as "Interview - Mike", where "Mike" is your name.
Once that is done, click on the Select Folder button, which will open a file dialog. Select the folder you just created or the pre-existing folder you want to use and click on the Open button. The software will read the contents of the folder and display the main practice screen.
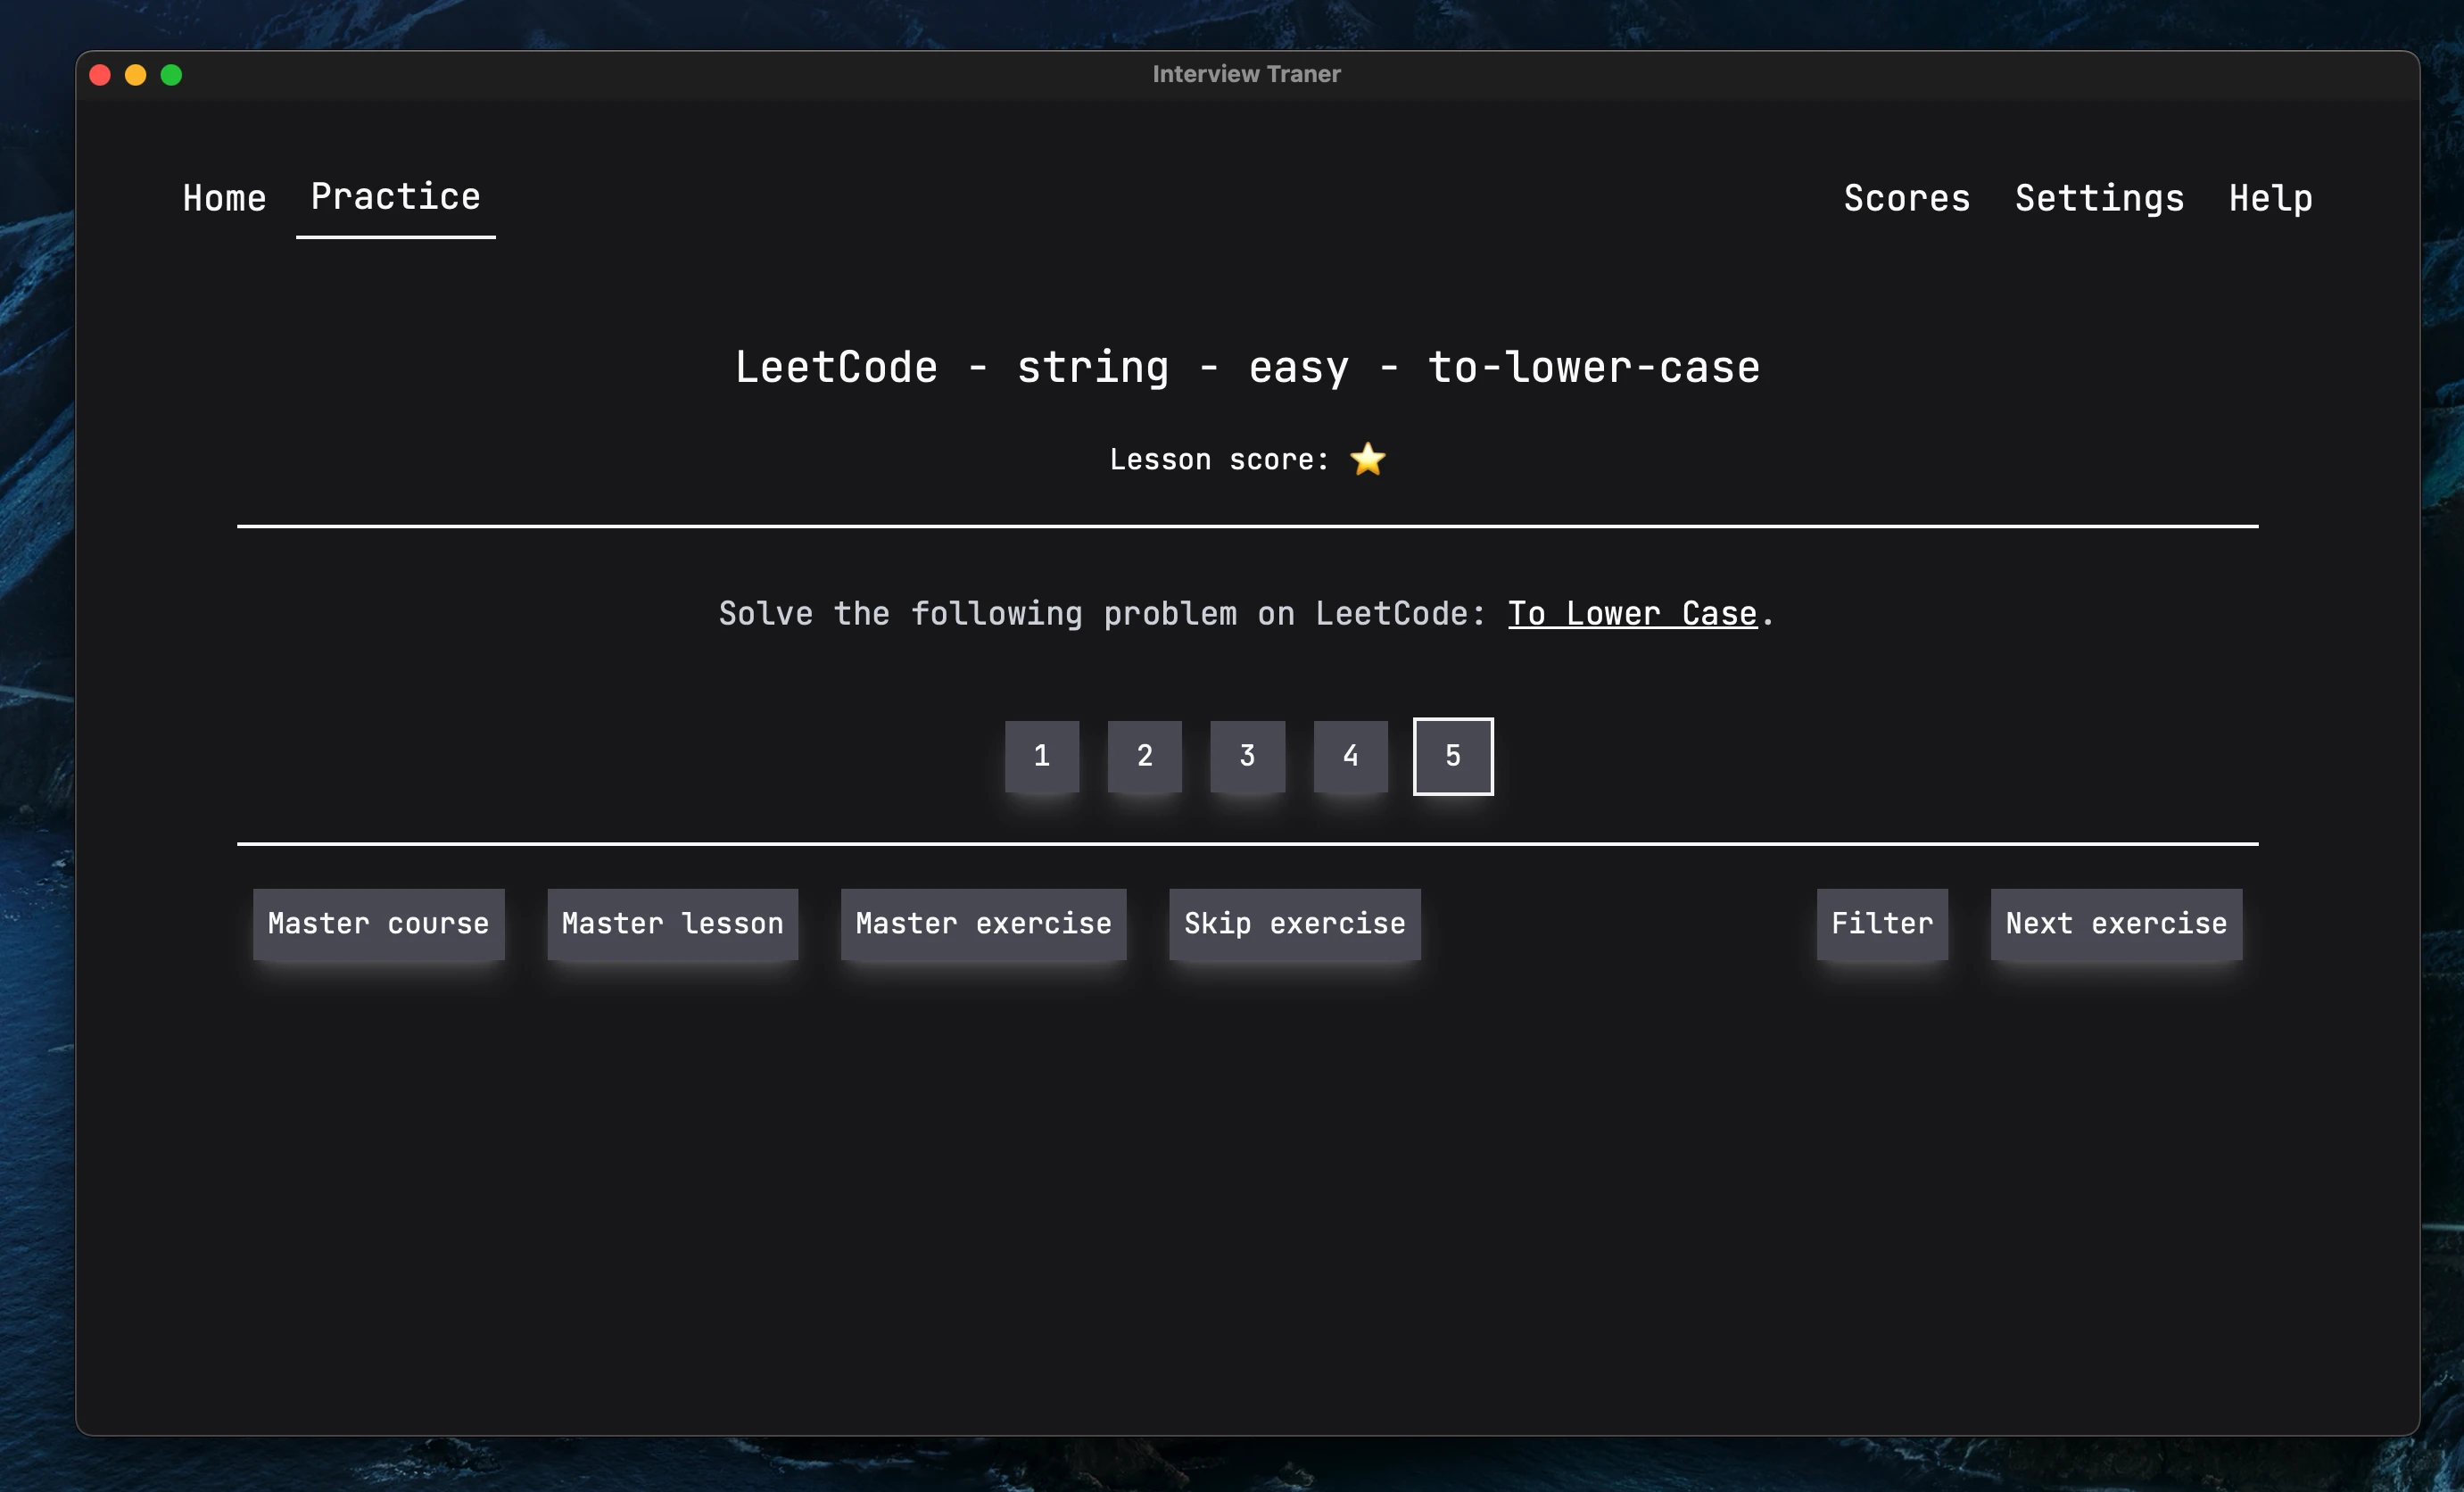
The screen contains multiple elements:
- Header:
- The name of the exercise currently being practiced.
- The exercise score, which is shown as a colored circle emoji and/or a label.
- Exercise:
- The exercise description, which may include a link to the original problem.
- Five buttons to assign
- Footer:
- A button to mark the course as mastered. The course will not be scheduled again and the next courses and lessons will be unlocked.
- A button to mark the lesson as mastered. The lesson will not be scheduled again and the next courses and lessons will be unlocked.
- A button to mark the exercise as mastered. The exercise will not be scheduled again.
- A button to skip the exercise. No score will be submitted for the current exercise.
- A button to apply an exercise filter. Exercises that do not match the filter will not be scheduled.
- A button to move to the next exercise. The score for the current exercise will be submitted, and the next exercise will be loaded.
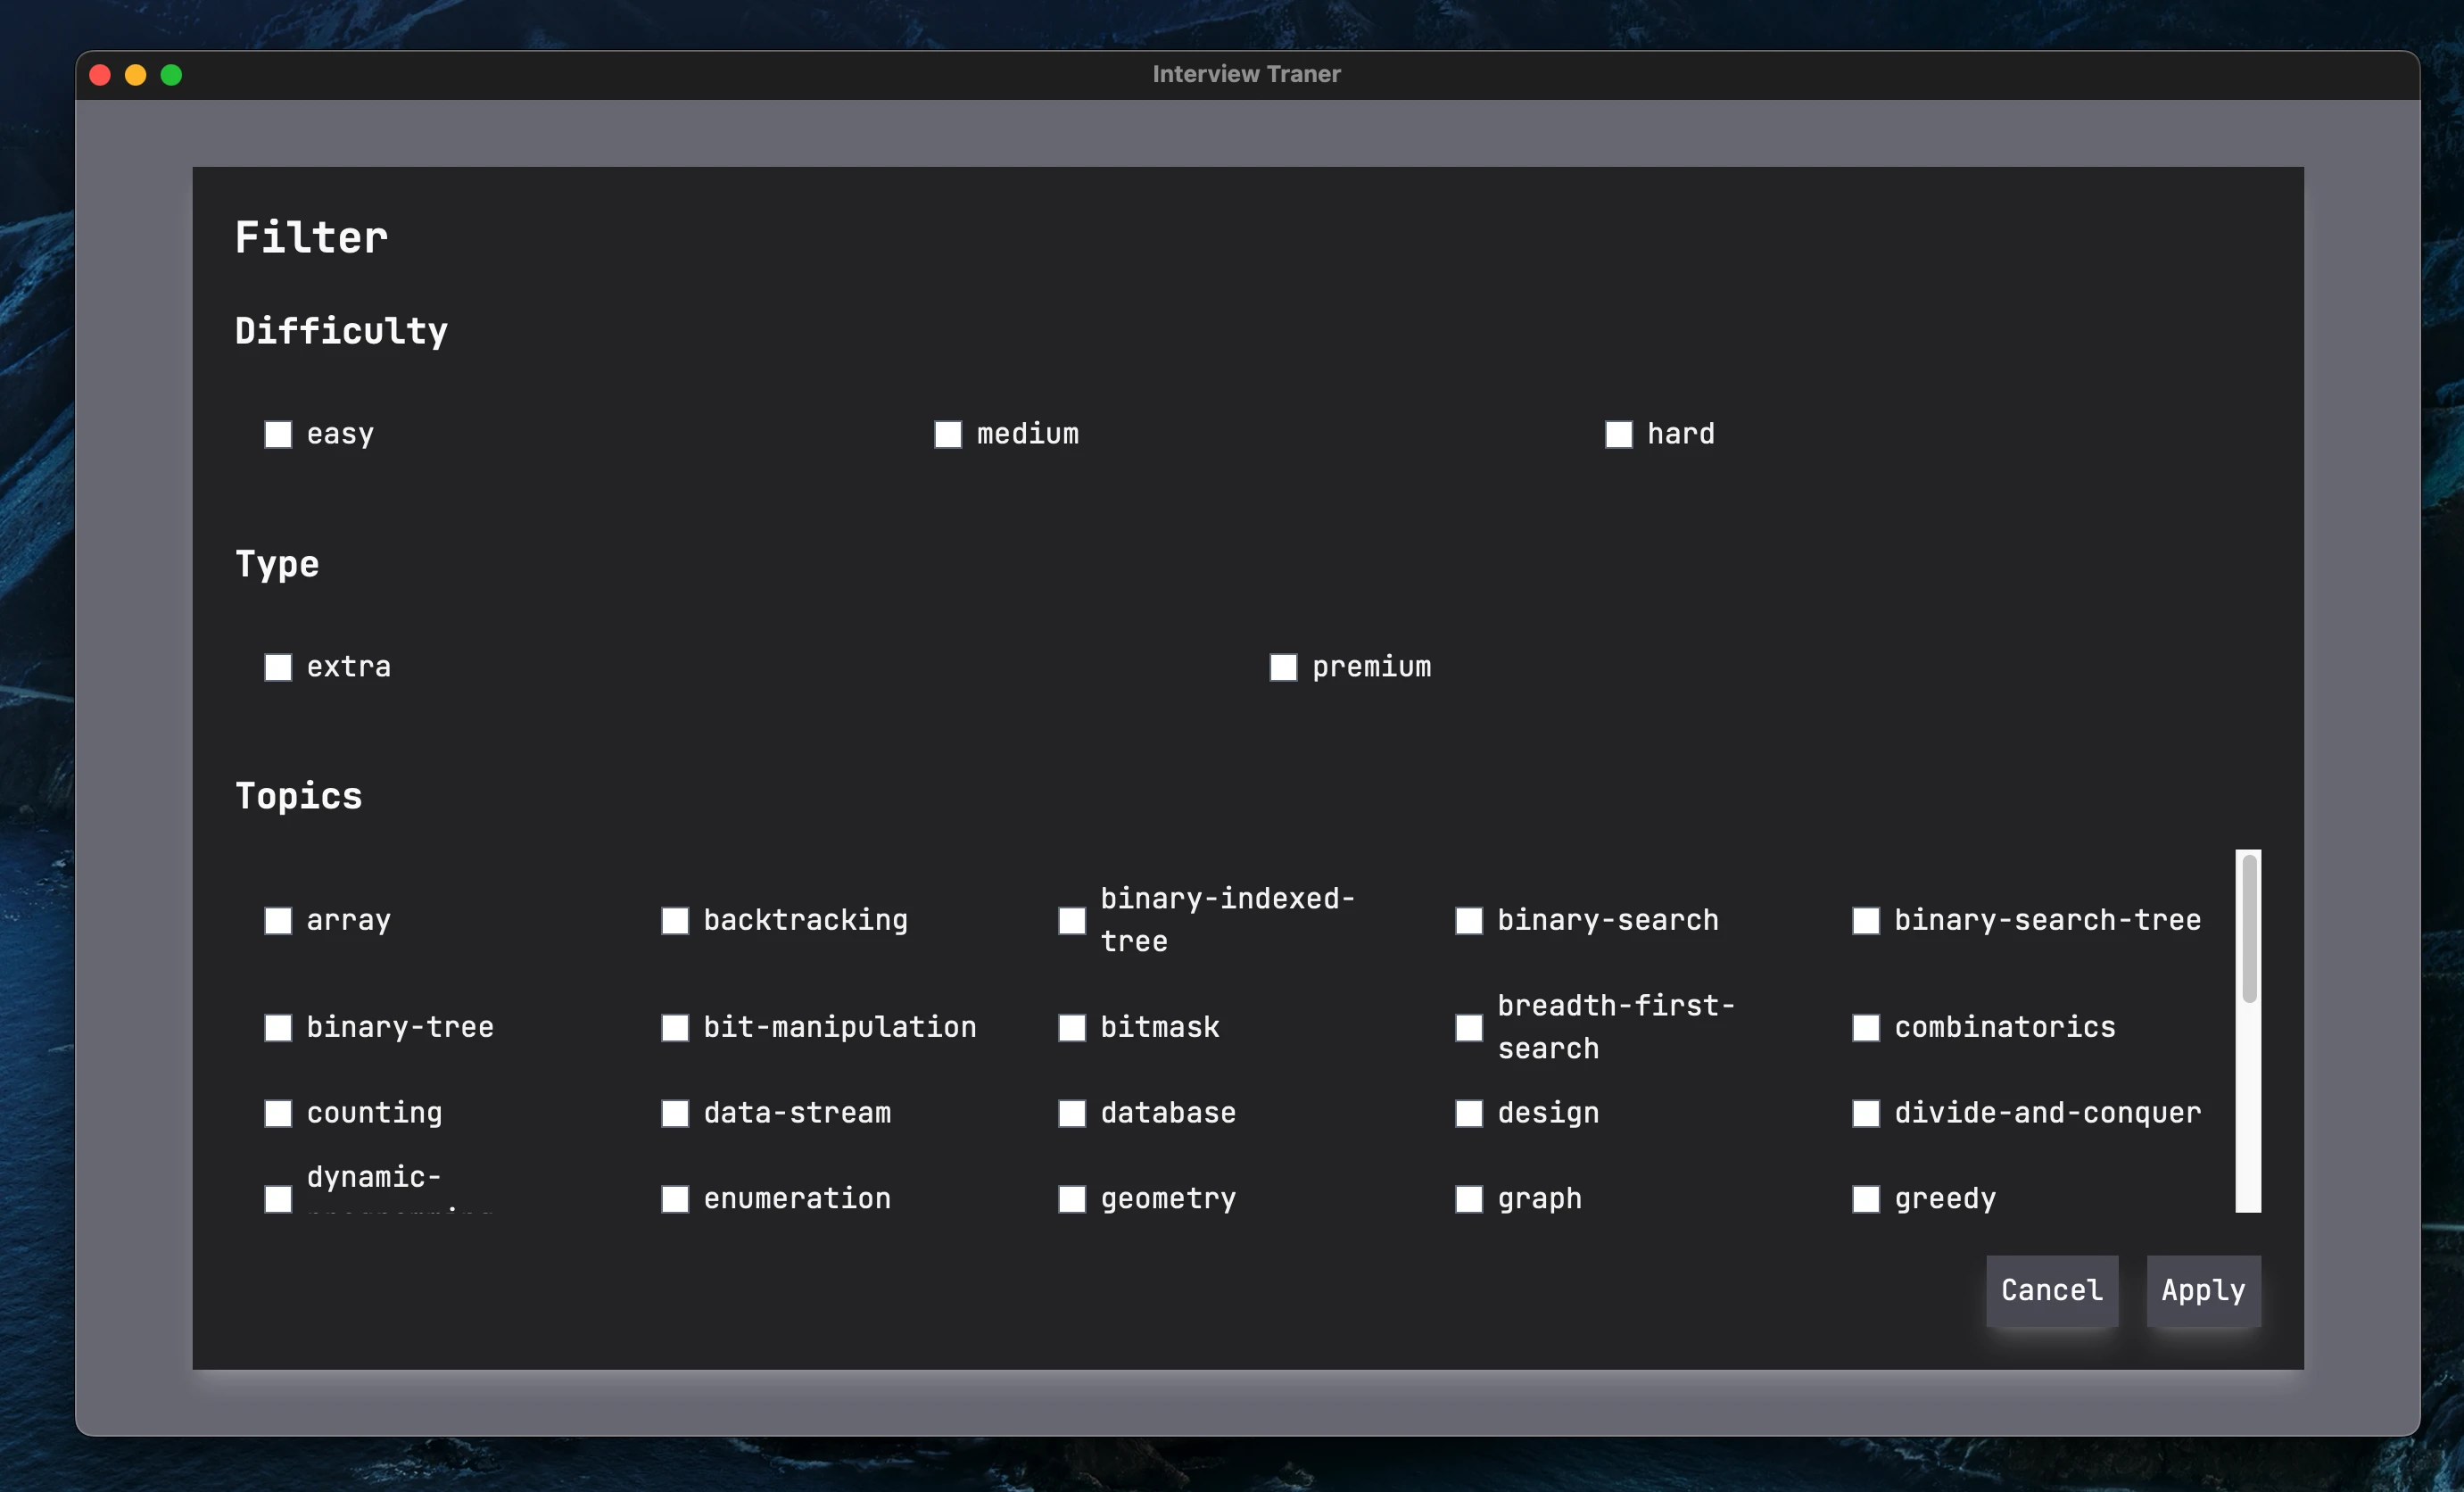
Clicking on the filter button will open a dialog with multiple filter options. These include:
- Filtering by difficulty (easy, medium, hard).
- Filtering whether premium and extra exercises should be included. Each topic includes extra exercises that provide you with more practice on the topic. However, people in a rush may not want to include these in their practice.
- Filtering by topic. This allows you to focus on specific topics that you want to practice more.
By default, all exercises are included in the practice. Also keep in mind that dependencies still apply when filters are applied. For example, if you filter to only show medium and hard exercises, you will not see hard exercises for a topic until the medium lesson has been mastered. The same logic applies to topics and the premium and extra exercises.
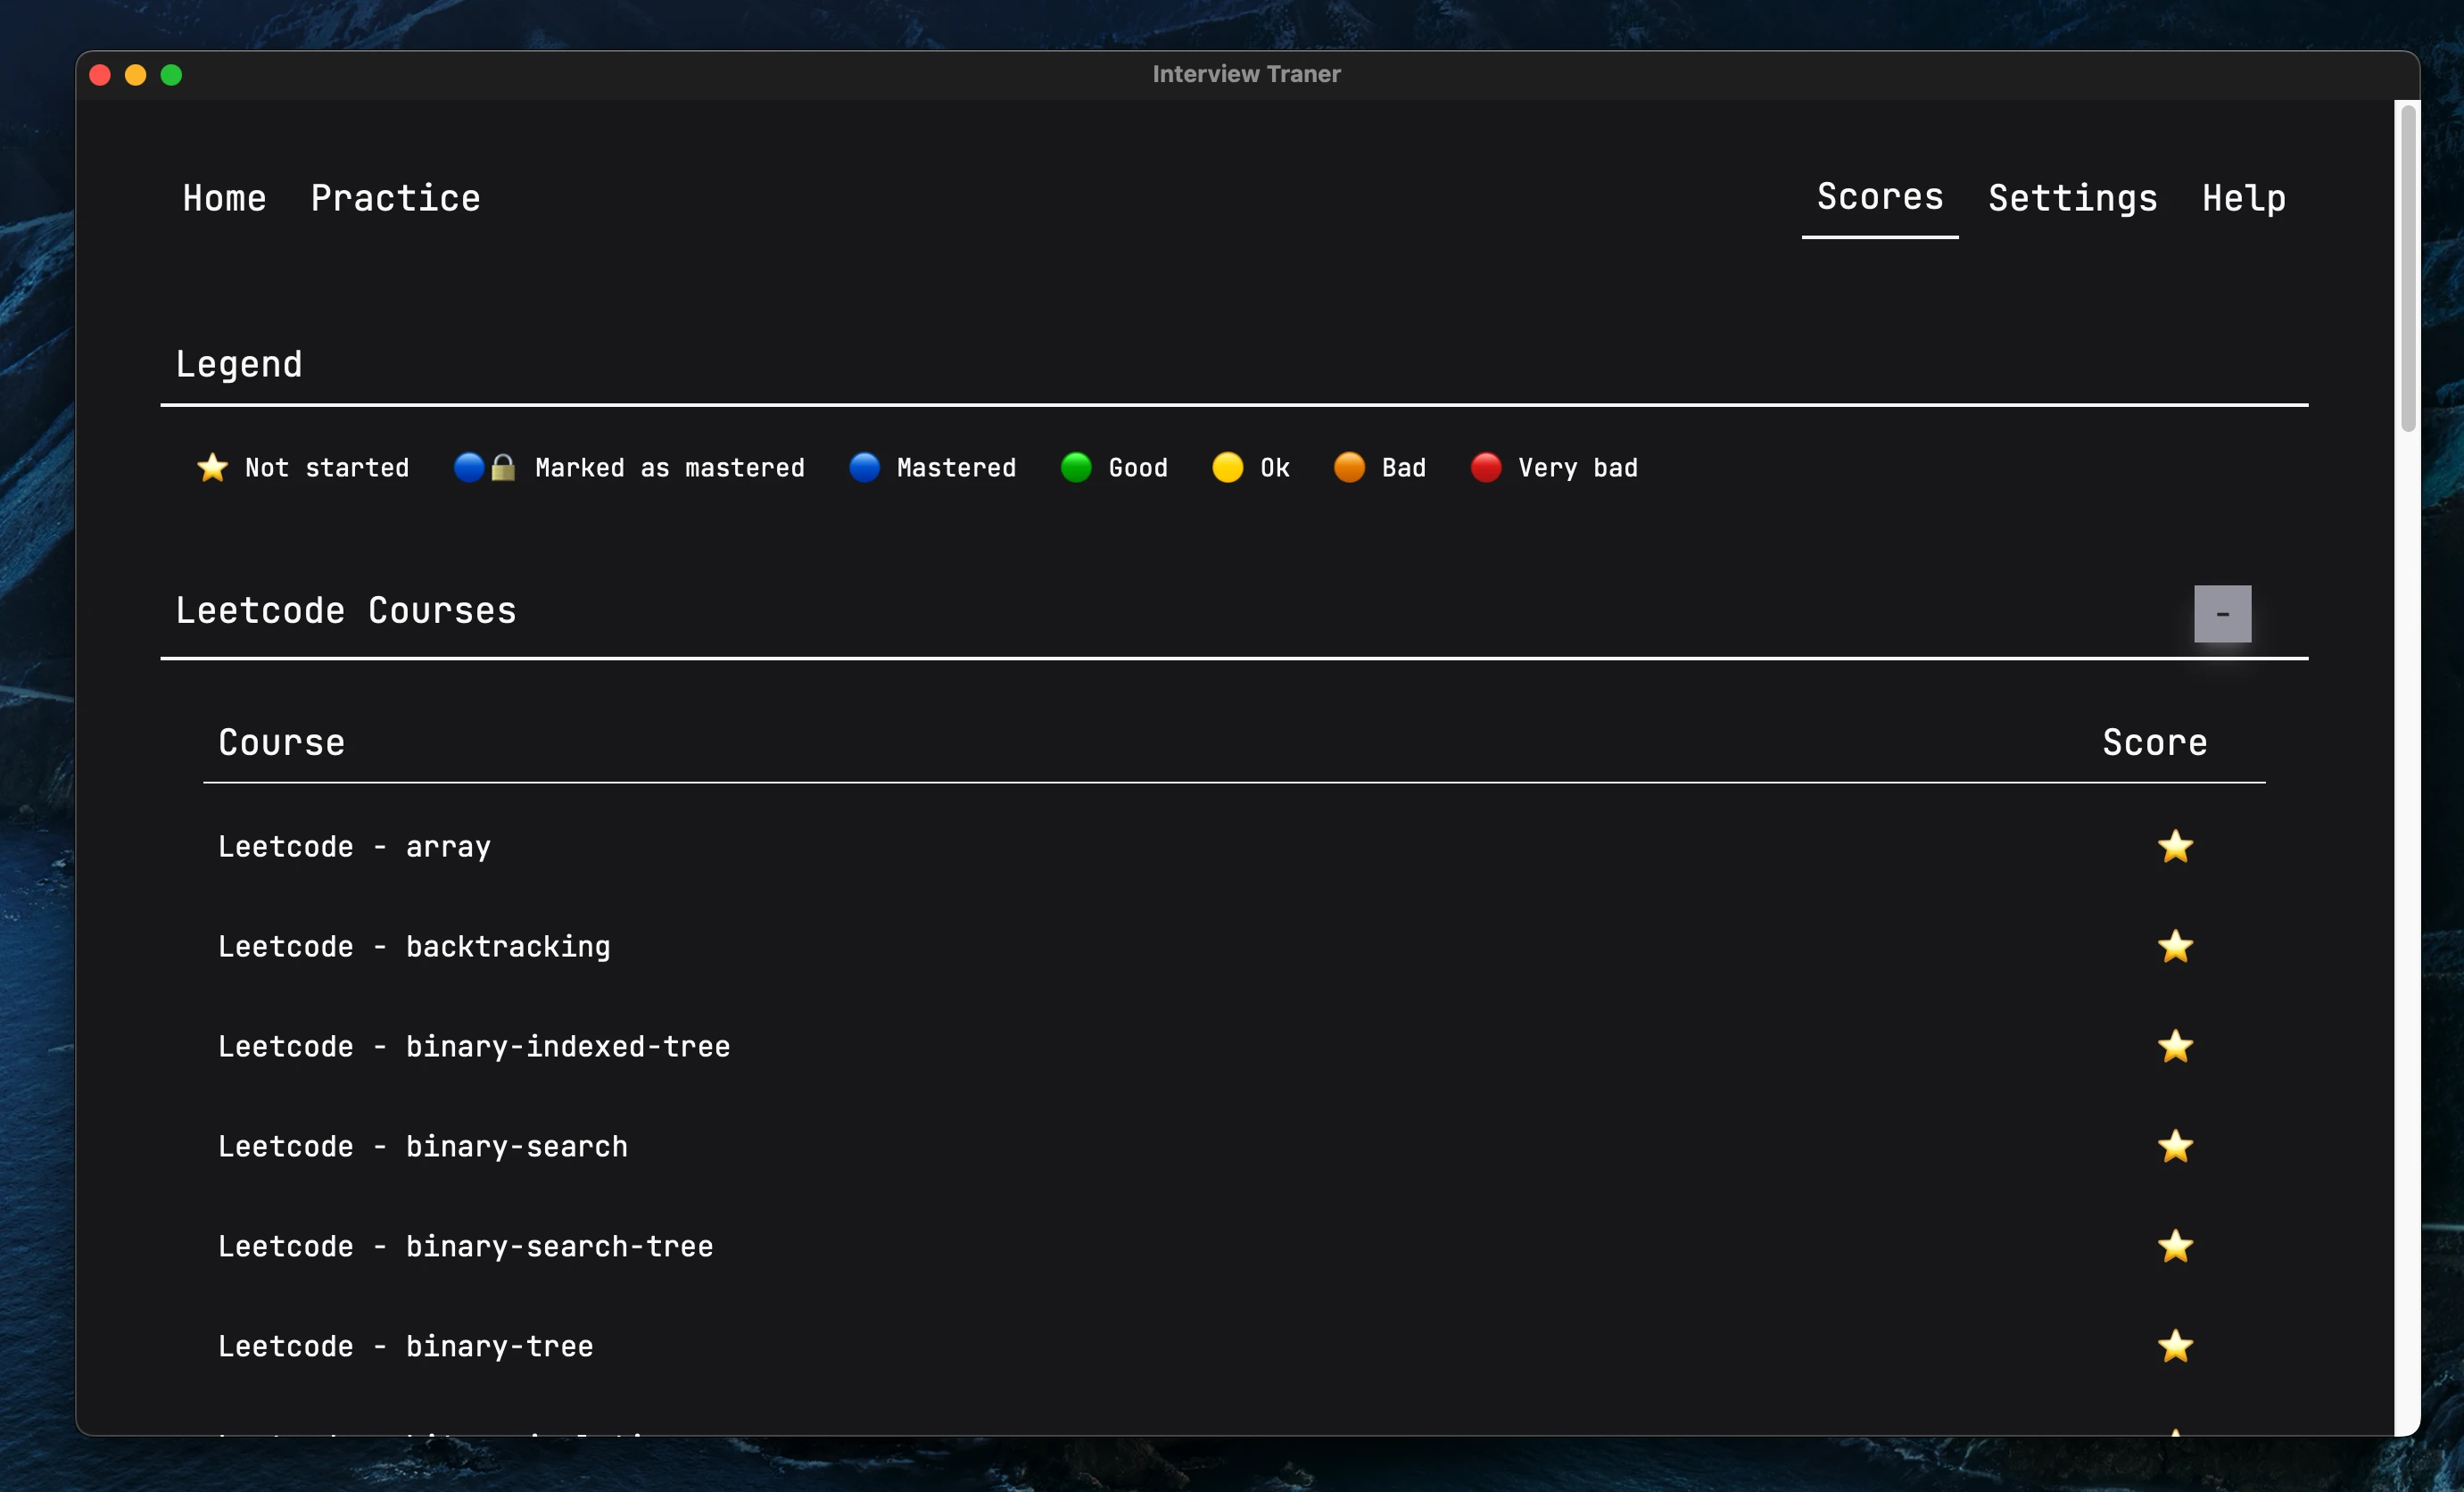
Scores Tab🔗
This tab shows you the score for each course in the curriculum.
Settings Tab🔗
Once the user has opened a folder, the Settings tab becomes available. This tab contains settings for the software, including license information, accessibility settings, and the list of lessons and courses that the tutor has marked as mastered.
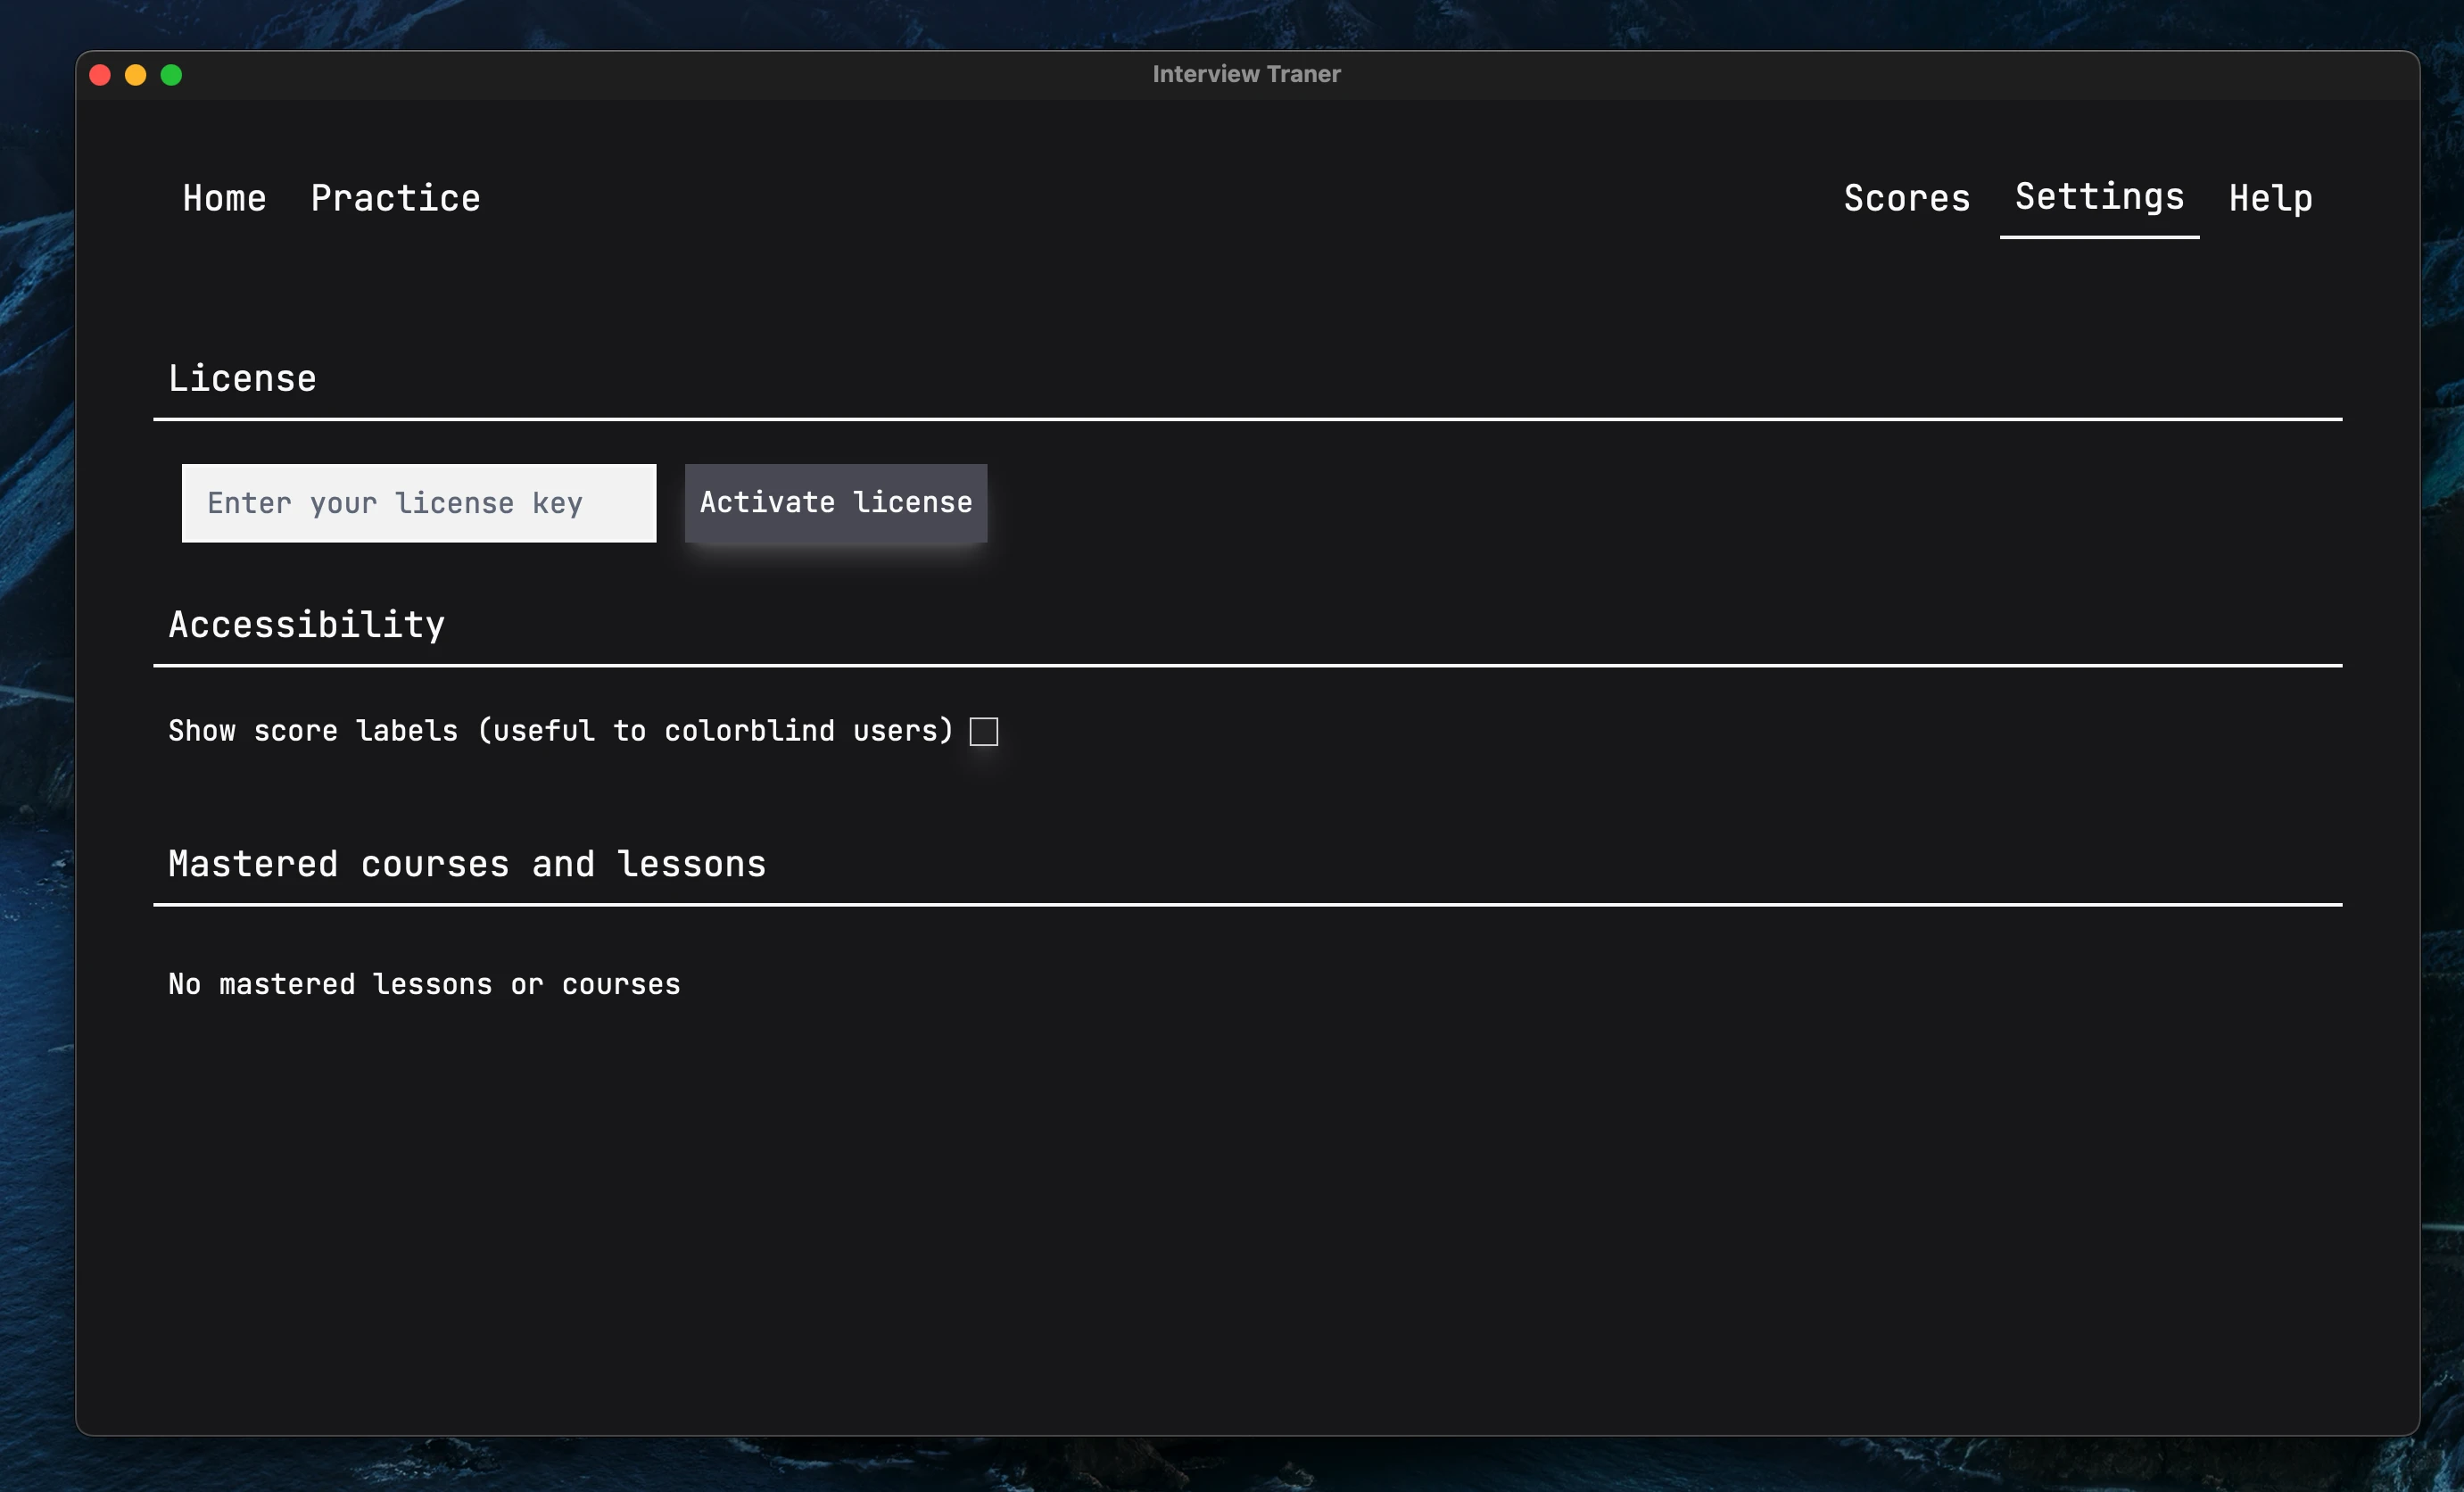
License🔗
Note: Internet connection is required to perform all license operations.
When the user first opens the software and opens a folder, they need to enter their license information in order to unlock the software. Otherwise, the Practice tab will show a warning message, not the main practice screen.
The license part of the settings tab will show a text field to enter the license key, and a button to activate it. The user simply pastes the license key included in the purchase confirmation email into the text field and clicks on the Activate license button.
If the license is valid, the screen will change to show the license information, including the license key, type, status, and activation status. Below it, there are three buttons to revalidate the license, deactivate it, and remove it.
If the user wants to use the software on another device or for another student, they first deactivate it by clicking on the Deactivate license button. This will let the license server know that the license is no longer in use and allow the user to activate it on another device.
The Remove license button should only be used if the user has trouble deactivating the license. It removes the license without first deactivating it. It should only be used as a last resort.
Accessibility🔗
This section contains settings that make the software more accessible.
- Show score labels: Show the text labels for the scores in the Practice and Score tabs instead of only the colored circle emojis. Useful for people who are colorblind or have difficulty interpreting colors.
Mastered courses and lessons🔗
This section contains a list of all the courses and lessons that the tutor has marked as mastered in the Practice tab. Each item has a Remove button that allows the tutor to remove it from the list of mastered courses and lessons. This is useful if the tutor wants to revisit a course or lesson that they previously marked as mastered or if they accidentally marked a course or lesson as mastered.
Help Tab🔗
This tab contains information on how to get software updates, contact support to report bugs, payment or license issues, or feature requests.